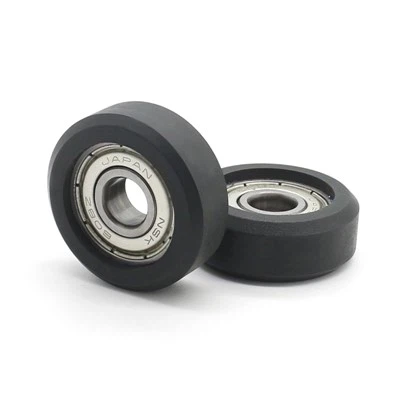
Removing a ball bearing might seem like a daunting task, but with the right knowledge and tools, it can be accomplished efficiently. As a ball bearing supplier, I've encountered numerous situations where customers needed guidance on this process. In this blog, I'll walk you through the step - by - step process of removing a ball bearing, along with some important tips and considerations.
Understanding Ball Bearings
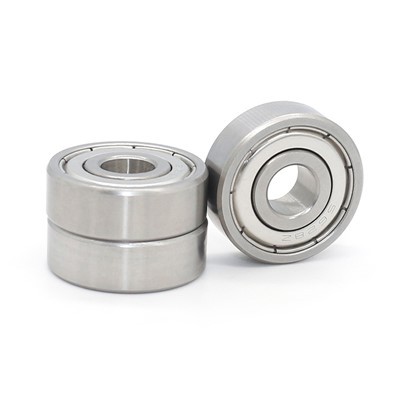
Before we dive into the removal process, it's essential to understand what ball bearings are and how they work. Ball bearings are mechanical components that reduce friction between moving parts. They consist of an inner race, an outer race, a set of balls, and a cage that keeps the balls evenly spaced. Ball bearings are used in a wide range of applications, from skateboards to bicycles and industrial machinery.
For example, the 608 - 2RS Skateboard Bearing is commonly used in skateboards. It has a specific design to handle the high - speed and dynamic forces associated with skateboarding. The 6805W6.5 - 2Z Bicycle Bearing 25377 mm Bicycle Hub Ball Bearing is designed for bicycle hubs, providing smooth rotation and durability. And the Freewheel Bearing 623UG is used in freewheel mechanisms, allowing the wheel to spin freely in one direction.
Tools Required
To remove a ball bearing, you'll need the following tools:
- Bearing Puller: This is the most important tool for removing ball bearings. There are different types of bearing pullers, such as two - jaw and three - jaw pullers. The type you choose depends on the size and location of the bearing.
- Hammer: A small hammer can be used to gently tap the bearing or the puller to loosen it.
- Socket Set: You may need a socket set to remove any bolts or nuts that are holding the bearing in place.
- Lubricant: A lubricant like WD - 40 can be used to help loosen the bearing and reduce friction.
- Safety Gear: Wear safety glasses and gloves to protect yourself from any flying debris or sharp edges.
Step - by - Step Removal Process
Step 1: Prepare the Workspace
Before you start removing the ball bearing, make sure you have a clean and well - lit workspace. Clear any clutter and lay out all the tools you'll need. This will help you work efficiently and reduce the risk of losing any small parts.


Step 2: Identify the Bearing and Its Location
Carefully examine the equipment to determine the type of bearing and its exact location. Some bearings are easy to access, while others may be hidden inside a housing or assembly. You may need to refer to the equipment's manual or do some research to understand how the bearing is installed.
Step 3: Remove Any Obstructions
If there are any bolts, nuts, or covers that are blocking access to the bearing, use the socket set to remove them. Make sure to keep track of all the removed parts and store them in a safe place.
Step 4: Apply Lubricant
Spray the lubricant around the edges of the bearing. This will help to loosen any rust or debris that may be holding the bearing in place. Let the lubricant sit for a few minutes to penetrate the bearing.
Step 5: Use the Bearing Puller
Select the appropriate bearing puller for the bearing size. Attach the puller jaws to the inner or outer race of the bearing, depending on the design. Make sure the puller is centered and firmly attached to the bearing.
If you're using a two - jaw puller, position the jaws evenly on opposite sides of the bearing. For a three - jaw puller, adjust the jaws so that they are evenly spaced around the bearing.
Once the puller is attached, turn the central screw of the puller clockwise. This will gradually apply pressure to the bearing and start to pull it out. As you turn the screw, use the hammer to gently tap the puller or the bearing to help loosen it.
Step 6: Remove the Bearing
Continue turning the screw on the puller until the bearing is completely removed. Be careful not to apply too much force, as this could damage the bearing or the surrounding components.
If the bearing is stuck and won't come out, you may need to use a heat gun to gently heat the bearing housing. The heat will cause the metal to expand, making it easier to remove the bearing. However, be cautious when using a heat gun, as excessive heat can damage the bearing or other parts.
Step 7: Inspect the Bearing and the Housing
Once the bearing is removed, inspect it for any signs of damage, such as cracks, pitting, or excessive wear. Also, check the bearing housing for any damage or debris. If the bearing is damaged, it should be replaced. If the housing is damaged, it may need to be repaired or replaced as well.
Tips and Considerations
- Be Gentle: When using the bearing puller and the hammer, apply gentle force. Excessive force can cause damage to the bearing and the surrounding components.
- Follow the Manufacturer's Instructions: If you're working on a specific piece of equipment, refer to the manufacturer's instructions for the proper bearing removal process.
- Clean the Parts: After removing the bearing, clean the bearing and the housing thoroughly. This will help to prevent any debris from causing problems when you install the new bearing.
- Store the Bearings Properly: If you're not going to install a new bearing immediately, store the removed bearing in a clean and dry place. You can use a plastic bag or a container to protect it from dust and moisture.
Conclusion
Removing a ball bearing is a process that requires careful planning and the right tools. By following the steps outlined in this blog, you can safely and effectively remove a ball bearing from your equipment. Whether you're working on a skateboard, a bicycle, or industrial machinery, having the knowledge and skills to remove ball bearings is essential.
As a ball bearing supplier, I'm here to help you with all your ball bearing needs. If you have any questions about ball bearing removal, installation, or selection, feel free to contact us for further assistance. We offer a wide range of high - quality ball bearings, including the 608 - 2RS Skateboard Bearing, 6805W6.5 - 2Z Bicycle Bearing 25377 mm Bicycle Hub Ball Bearing, and Freewheel Bearing 623UG. Contact us today to discuss your requirements and start a procurement negotiation.
References
- Machinery's Handbook, 31st Edition
- Bearing Installation and Maintenance Guide, SKF