


A cam follower, also known as a track follower, is a specialized type of roller or needle bearing designed to follow cam profiles. Over time, due to continuous use, wear and tear, a cam follower can become worn out, which may lead to decreased performance, increased noise, and even potential damage to other components. As a cam follower supplier, I am here to guide you through the process of replacing a worn - out cam follower.
Step 1: Preparation
Before you start replacing the cam follower, it's essential to gather all the necessary tools and materials. You will typically need a set of wrenches, screwdrivers, a new cam follower that matches the specifications of the old one, and a clean workspace.
First, make sure to turn off the machine or equipment where the cam follower is installed. This is a crucial safety step to prevent any accidental start - up during the replacement process. You should also disconnect the power source to eliminate the risk of electrical shock.
Next, clean the area around the cam follower. Use a clean cloth and a suitable solvent to remove any dirt, grease, or debris. This will ensure that no foreign particles get into the new cam follower during installation, which could cause premature wear.
Step 2: Identifying the Worn - Out Cam Follower
Locate the cam follower on the machine. Cam followers are often used in various applications such as automotive engines, industrial machinery, and printing presses. They are usually attached to a camshaft or a cam mechanism.
Inspect the cam follower for signs of wear. Common signs include uneven wear on the roller surface, excessive play in the bearing, or visible damage such as cracks or chips. If you are unsure whether the cam follower needs to be replaced, you can compare it with a new one of the same type.
Step 3: Removing the Old Cam Follower
Once you have identified the worn - out cam follower, it's time to remove it. Start by removing any retaining clips, bolts, or nuts that hold the cam follower in place. Use the appropriate wrenches or screwdrivers for this task.
Be careful not to damage the surrounding components while removing the cam follower. If the cam follower is stuck, you may need to use a gentle tapping motion with a rubber mallet to loosen it. However, avoid using excessive force as this can cause damage to the camshaft or other parts.
After removing the securing fasteners, carefully pull the cam follower out of its housing. Take note of the orientation and position of the cam follower, as the new one will need to be installed in the same way.
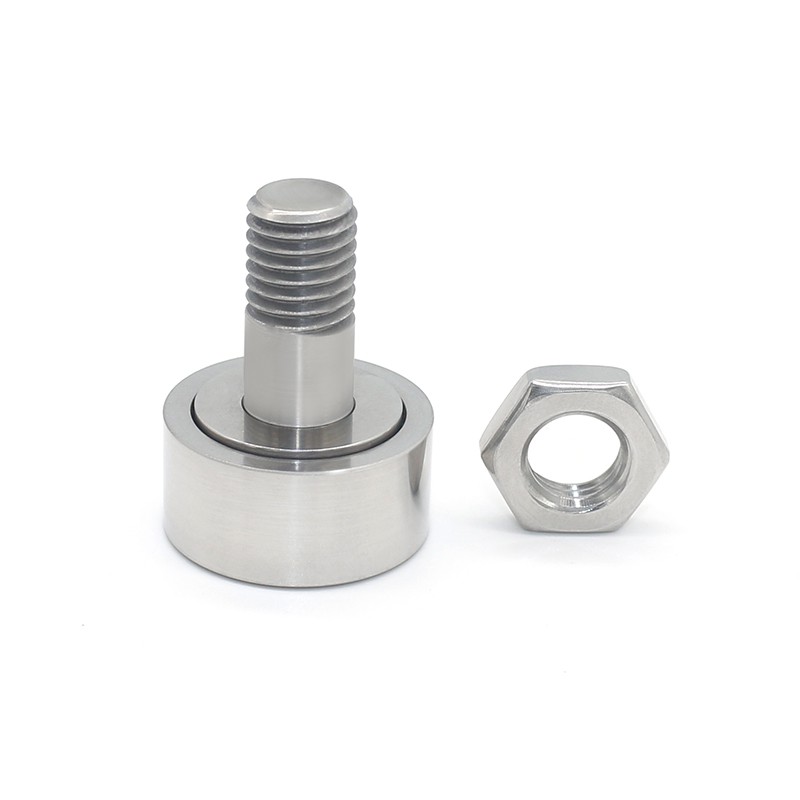

Step 4: Selecting the Right Replacement
As a cam follower supplier, I understand the importance of choosing the correct replacement. There are different types of cam followers available, such as Stainless Steel Camshaft, Plastic Cam Followers, and Cf12 Cam Follower.
When selecting a replacement, consider factors such as the load capacity, speed, operating environment, and the type of cam mechanism. For example, if the application involves high - speed operation, you may need a cam follower with a high - precision bearing. If the environment is corrosive, a stainless - steel cam follower may be the best choice.
Step 5: Installing the New Cam Follower
Before installing the new cam follower, apply a thin layer of lubricant to the bearing and the contact surfaces. This will help reduce friction and ensure smooth operation.
Carefully insert the new cam follower into the housing, making sure it is properly aligned with the camshaft and other components. Reinstall the retaining clips, bolts, or nuts, and tighten them to the specified torque. Over - tightening can cause damage, while under - tightening can lead to the cam follower coming loose during operation.
Step 6: Testing
Once the new cam follower is installed, it's time to test the machine. Reconnect the power source and turn on the machine at a low speed. Listen for any unusual noises or vibrations, which could indicate a problem with the installation.
If the machine operates smoothly, gradually increase the speed and monitor the performance. Check the temperature of the cam follower area to ensure that it does not overheat. If you notice any issues, stop the machine immediately and recheck the installation.
Tips and Considerations
- Regular maintenance: To prevent premature wear of cam followers, it's important to perform regular maintenance on the equipment. This includes lubrication, cleaning, and inspection.
- Quality of replacement parts: Always choose high - quality replacement cam followers. Inferior parts may not perform as well and can lead to more frequent replacements.
- Training: If you are not familiar with the process of replacing a cam follower, it may be beneficial to receive some training or consult the equipment's manual.
Conclusion
Replacing a worn - out cam follower is a task that can be done with the right tools, knowledge, and a bit of patience. By following the steps outlined above, you can ensure a smooth replacement process and keep your machine running efficiently.
As a cam follower supplier, we are committed to providing high - quality cam followers and excellent customer service. If you have any questions about cam followers or need assistance in selecting the right replacement for your application, please do not hesitate to contact us for procurement and further discussions. We look forward to working with you to meet your cam follower needs.
References
- "Machine Design Handbook", various authors.
- Manufacturer's manuals for cam - follower - equipped machinery.


